Provision a Sitecore 9 PaaS environment
In this article I am going to run through how to provision Sitecore 9 XP on Microsoft Azure in a PaaS configuration. This is probably the most common scenario for deploying Sitecore to the cloud however it can easily be configured based on size and topology.
Get downloading
First things first you will need to download all the resources required to provision the environment:
- Sitecore Azure AppService SCWDP's for the version of Sitecore that you want to provision - I have used Sitecore 9.0.1 rev. 171219 (WDP XPScaled packages).zip
- Sitecore Azure Toolkit - I have used 2.0 Update-1
- Sitecore Azure Quickstart templates
- Sitecore license file
- Certificate for xConnect in PKCS #12 format (.pfx)
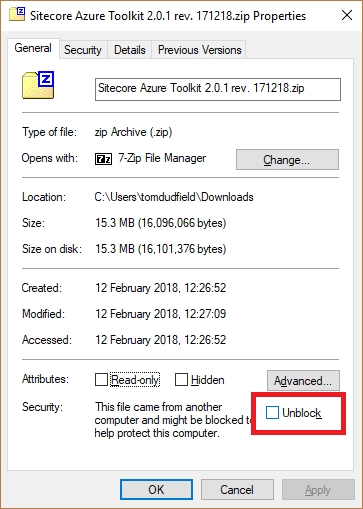
Make sure you unblock all the files that you have downloaded.
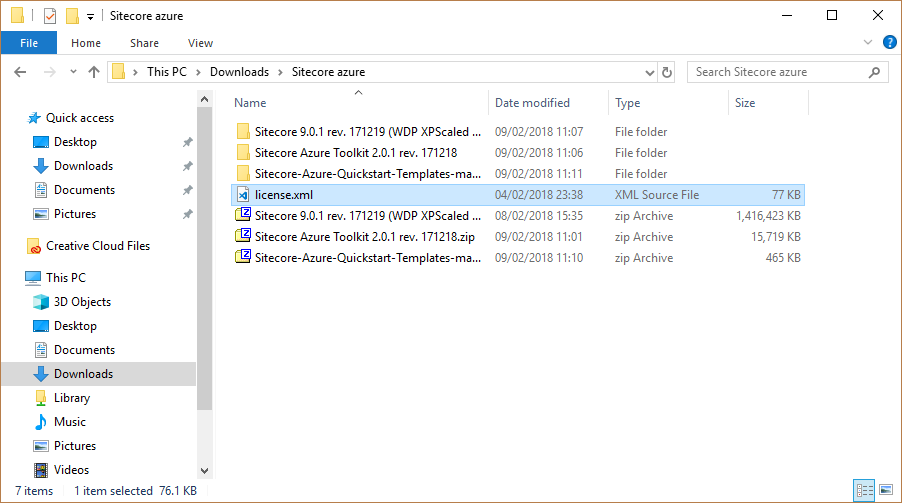
Extract all these zip files to a new folder.
Get uploading
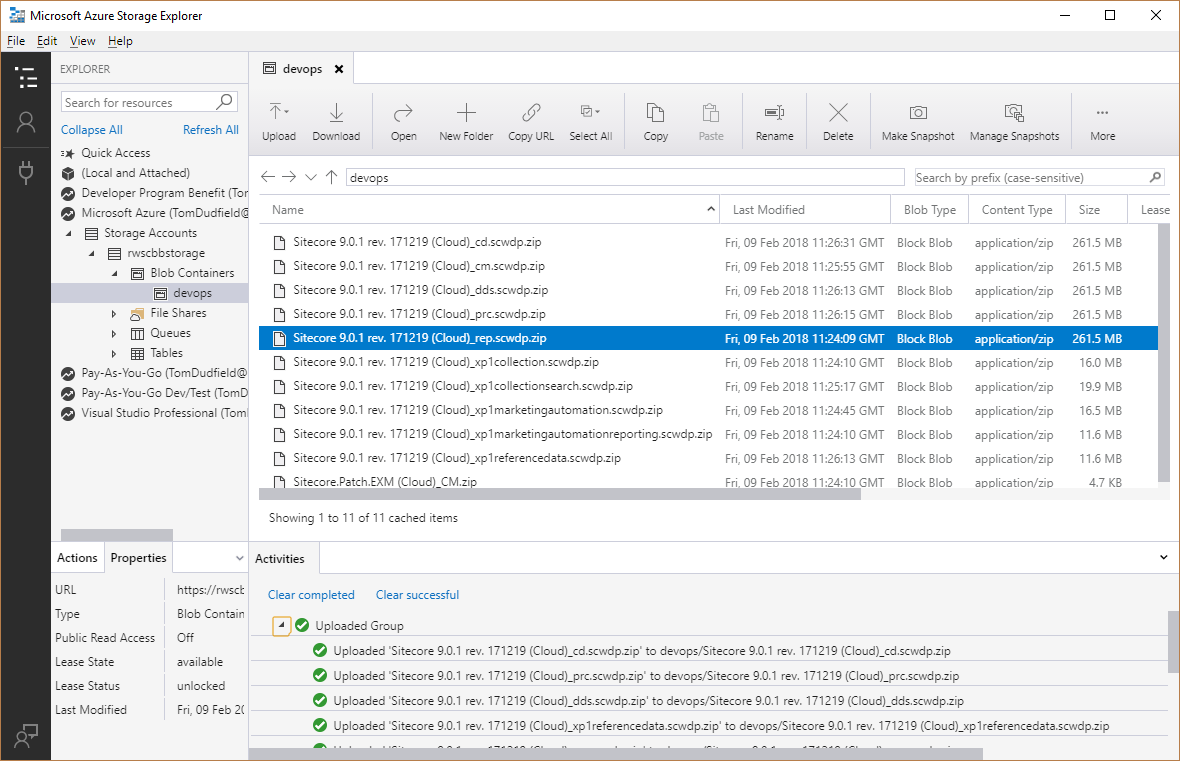
Create Azure storage account, this doesn't need to be in the same resource group or account where you will be provisioning to. In fact, I would recommend putting it somewhere else so that you can use it for provisioning multiple environments. You will need to now use a tool for managing content in Azure Blob Storage, for this I personally use Azure Storage Explorer.
Upload your certificate and all the files in Sitecore 9.0.1 rev. 171219 (WDP XPScaled packages) to blob storage.
Get configuring
Within the Azure Quickstart Templates, grab a copy of the azuredeploy.parameters.json for the topology that you want to configure. In my instance, for XP Scaled, I took a copy from Sitecore 9.0.1\XP, but you could use XM if you only need the content management instance.
You now need to configure the values within azuredeploy.parameters.json. Sitecore has very detailed documentation on how to do this with more advanced scenarios.
When configuring the json, you need to generate Shared Access Signature urls to provide access to the files in blob storage. Within Azure Storage Explorer right click on the file and open the Shared Access Signature dialog. Make sure you specify a long enough expiry time and then click create.
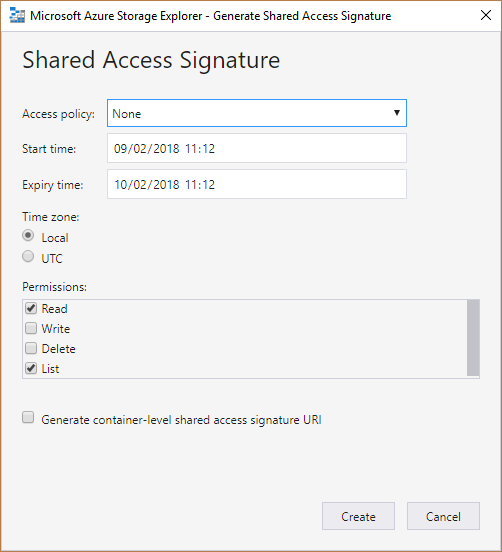
From the next dialog you can then copy out the entire url to the blob with the appropriate SAS signature.

- sitecoreSKU - e.g. "Medium" depending on the performance required
- deploymentId - this is used as a prefix to name all the resources
- location - the Azure region
- sitecoreAdminPassword - something other than "b"!!
- licenseXml - leave blank - this isn't needed
- repAuthenticationApiKey - generate a new guid for this
- sqlServerLogin - an obsure username for SQL
- sqlServerPassword - a secure password for SQL
- cmMsDeployPackageUrl - SAS url for
Sitecore 9.0.1 rev. 171219 (Cloud)_cm.scwdp.zip - cdMsDeployPackageUrl - SAS url for
Sitecore 9.0.1 rev. 171219 (Cloud)_cd.scwdp.zip - prcMsDeployPackageUrl - SAS url for
Sitecore 9.0.1 rev. 171219 (Cloud)_prc.scwdp.zip - repMsDeployPackageUrl - SAS url for
Sitecore 9.0.1 rev. 171219 (Cloud)_rep.scwdp.zip - xcRefDataMsDeployPackageUrl - SAS url for
Sitecore 9.0.1 rev. 171219 (Cloud)_xp1 referencedata.scwdp.zip - exmDdsMsDeployPackageUrl - SAS url for
Sitecore 9.0.1 rev. 171219 (Cloud)_dds.scwdp.zip - exmCmMsDeployPackageUrl - SAS url for
Sitecore.Patch.EXM (Cloud)_CM.zip - xcCollectMsDeployPackageUrl - SAS url for
Sitecore 9.0.1 rev. 171219 (Cloud)_xp1collection.scwdp.zip - xcSearchMsDeployPackageUrl - SAS url for
Sitecore 9.0.1 rev. 171219 (Cloud)_xp1 collectionsearch.scwdp.zip - maOpsMsDeployPackageUrl - SAS url for
Sitecore 9.0.1 rev. 171219 (Cloud)_xp1marketing automation.scwdp.zip - maRepMsDeployPackageUrl - SAS url for
Sitecore 9.0.1 rev. 171219 (Cloud)_xp1marketing automationreporting.scwdp.zip - authCertificateBlob - SAS url for certificate
- authCertificatePassword - certificate password
Get provisioning
Now's the time to bring it all together and provision an environment on Azure. In this script, you'll make use of the Sitecore Azure PowerShell Module provided in the Azure Toolkit to provision the environment. Change the relevant values in this script and save it alongside your other files.
$SCSDK="C:\Sitecore azure\Sitecore Azure Toolkit 2.0.1 rev. 171218"
$SCTemplates="https://raw.githubusercontent.com/Sitecore/Sitecore-Azure-Quickstart-Templates/master/Sitecore%209.0.1/XP/"
$DeploymentId = "sitecore9-example"
$LicenseFile = "C:\Sitecore azure\license.xml"
$CertificateFile = "C:\Sitecore azure\certificate.pfx"
$SubscriptionId = "00000000-0000-0000-0000-000000000000"
$Location="North Europe"
$ParamFile="C:\Sitecore azure\azuredeploy.parameters.json"
$Parameters = @{
    "deploymentId"=$DeploymentId;
    "applicationInsightsLocation" = "$Location"
    "authCertificateBlob" = [System.Convert]::ToBase64String([System.IO.File]::ReadAllBytes($CertificateFile))
}
Import-Module $SCSDK\tools\Sitecore.Cloud.Cmdlets.psm1
Add-AzureRMAccount
Set-AzureRMContext -SubscriptionId $SubscriptionId
Start-SitecoreAzureDeployment -Name $DeploymentId -Location $Location -ArmTemplateUrl "$SCTemplates/azuredeploy.json"  -ArmParametersPath $ParamFile  -LicenseXmlPath $LicenseFile  -SetKeyValue $Parameters
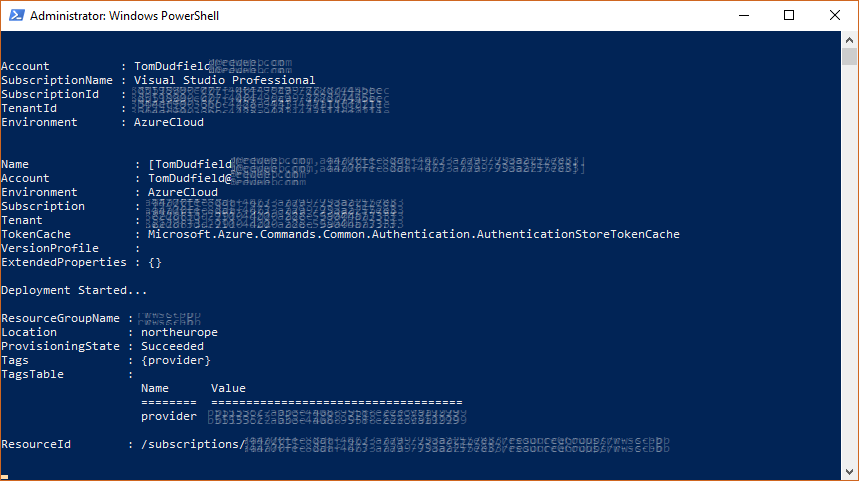
To provision the environment, you can them simply call your script within an administrator PowerShell window.
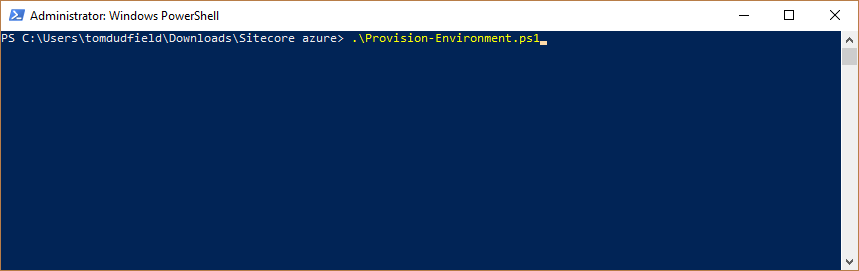
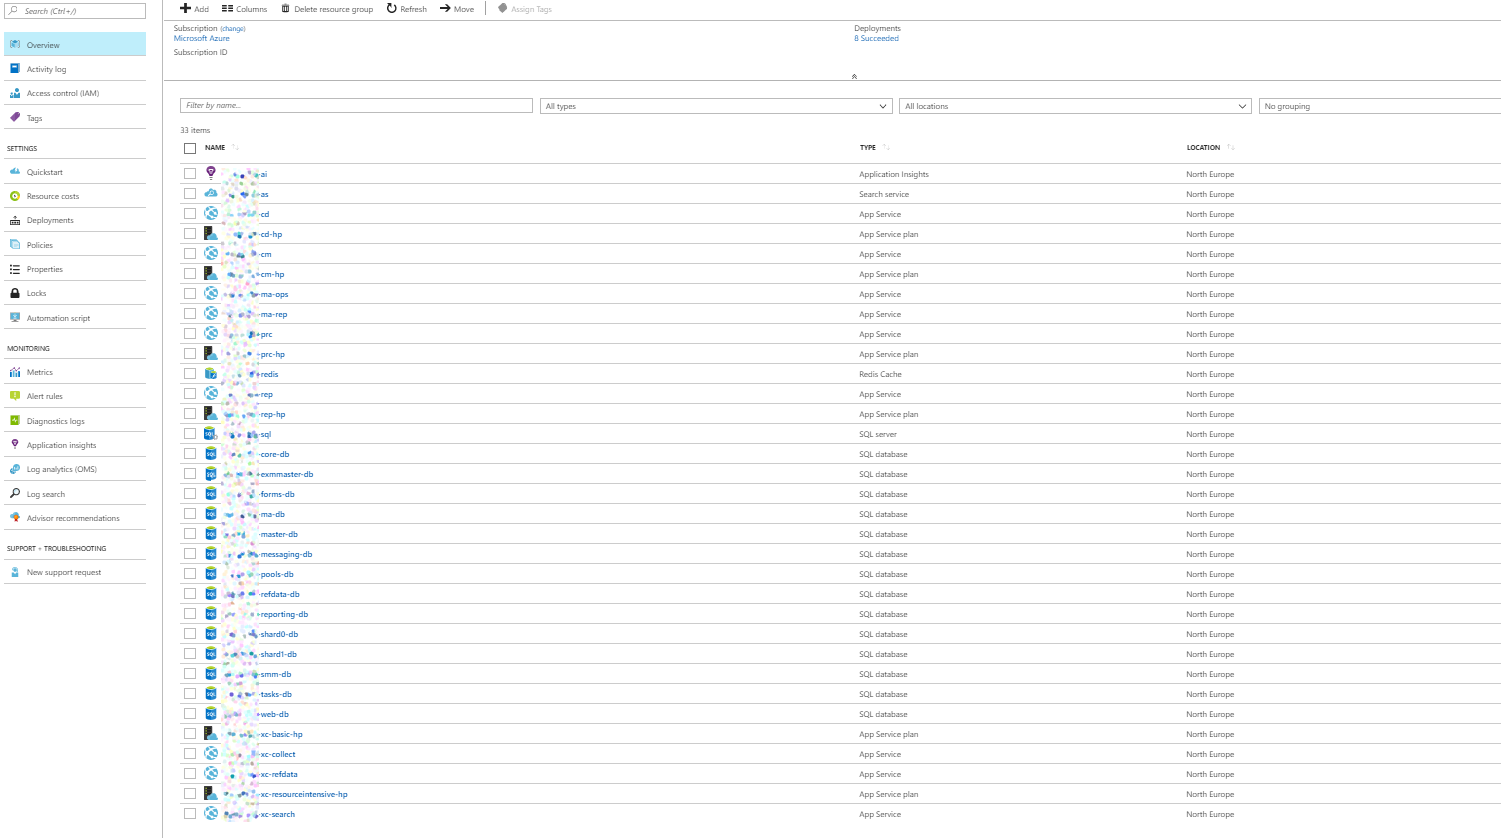
It will take about 30mins for the script to run then you will have a new environment on Azure. It is possible to check the status of deployments by logging into the Azure portal and viewing the deployments on the resource group.